I heart red velvet cakes.
And if you read my blog often, you'd know that i've had several failed attempts. Usually due to the fact that i used an entirely different food colouring (green or orange) so they came out a rather attractive colour suitable for the loo. Mmm..
A very nice grandma of one my housemates (Lizzie), gave me the rest of her Sugarflair red food colouring paste- this was like my holy grail. My passageway into the age of successful red velvet baking.
I couldn't wait to bake this baby.
I used the Red Velvet Layer Cake recipe from Bea's of Bloomsbury's "Tea with Bea" book.
And once again, (i think im making a habit of this) i took many a photo.
This was everything that went into the cake mix. That's homemade buttermilk in the jug on the left there, to be combined with the red wine vinegar and baking powder as the raising agents. And the oil is used for fat instead of butter.
In action... oh you can kinda see me in the handle there- "OH Hi!"
This was when i cut my finger... Ahhhhhhh just kidding. Food colouring paste in :P
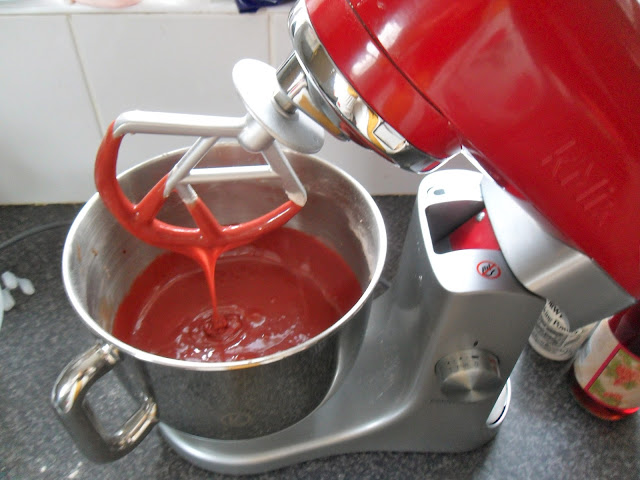
As red as my mixer
Slightly out of focus... cake batter in the tin before baking...
AFTER BAKING!! Giant, bouncy and red.
As I've never really made a layer cake before, the prospect of having to divide this rather shallow cake into 3 layers made me break out in a cold sweat... But i was determined to be brave and to be honest i couldn't talk to anyone while i did it... each slice turned out to be 1cm thick.
one slice down, one more to go...
I think i had to have a nap at this stage... So. Much. Stress.
So i was advised to make this particular cream cheese frosting in this recipe. AND MY GOD. Was it the best advice ever.
Normally, i find cream cheese frostings a little too heavy and actually a little sour.. (no my cheese wasn't off). But this alternative frosting had special additions of mascarpone and whipping cream so it was SUPER light and creamy- it was like eating ACTUAL AIR.
I had to stop myself nomming it all right there and then.
You basically just first whipped the cream to a soft peak consistency before blending the cheeses together with icing sugar and vanilla essence. And then you fold in the cream so that it still has a really light and airy texture.
Beautiful.
I definitely think i'll be using this cream cheese frosting instead of the one i have been previously.
Sandwiching done
This is the first time i've managed to completely cover a cake in frosting comfortably. I also think it's my best looking one! That doesn't say much about my decorating skills!! haa..
Looking pretty plain..
I had some leftover frosting so i thought i'd get fancy with the piping nozzles.. These were just tests.. Still an amateur afterall T_T
Attempting to get creative..
Finished frosting..
A little wonky- but we'll just call it rustic :P
I'm very happy with how this cake turned out. Definitely a far cry from my poo coloured cakes from back in the day (okay so maybe a few months ago)
The cake was really moist and indulgent. The light cream cheese frosting really complimented the denseness of the cake.
It was just all round a really enjoyable thing to bake- especially around this time of year! Red for valentines day.. Bleurghgh...
The only thing i would probably have changed would have been to fold the flour in, instead of just blending it in like the recipe said. I don't know if red velvet's are always just meant to be dense, but as i'm a lover of light spongey things, i think i might try and incorporate more air into the mixture so it might turn out taller- and then be easier to slice into layers later!
Close-up of the super red cake. Excuse the large air bubble. I suppose i managed to get SOME air in in the end, eh?
Pretty darn proud :)


No comments:
Post a Comment